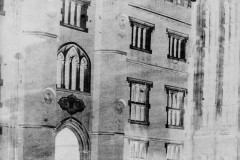
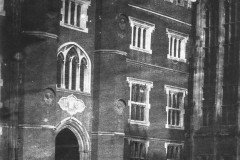
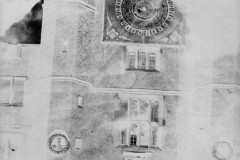
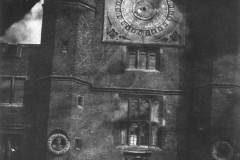
Let me take you back to the heady days of summer, 2005. It was a different time, when self isolation was something that Howard Hughes was famous for, Don’t Stand So Close To Me was a Police song rather than a maxim for everyday life, Base Court at Hampton Court Palace was covered in grass, and Robert from the team had an idea for a photographic history event…yes it’s not just cookery for the Kitchen Team. As I’ve said several times before, cookery happens to be a great lens to look at history through, but sometimes it’s not just about the metaphoric lens that’s used.
Now right off the bat I’d better get the caveats in quick…2005 is a LONG time ago, mistakes in my recollection are highly likely. I’m no expert, that’s Roberts thing, unfortunately the current Covid-19 lockdown sees him stranded without access to a computer so I can’t ask him to fill in the details or gaps… I’ll aim to get an updated version from him as soon as is feasible, finally, this will very much be image heavy, detail light!
In actuality I suppose I should start back in 2001 when we visited the ALFHAM annual conference that was held that year at Colonial Williamsburg. As part of a jam packed time in the US we managed to fit in a day trip to Gettysburg to look around the town as it was only a few miles from where we were staying, and there was something, or someone there that Robert wanted to try to see. ..Rob Gibson.
Gibson ran a photography business that used the wet plate collodion process, the same process used during the US civil war, and was (as I recall) unique at the time we visited him, with every other photography business in town producing mock sepia prints for tourists and re-enactors. Rob produced the real deal and was absolutely the nicest chap in the world. With a kindred spirit in Robert, he spent ages explaining his process and showing us results, advising on best practice and even letting Robert have a go with his studio. By now Robert was already formulating plans to suggest a live photography event at some time in the future, and all the chatting with Rob Gibson merely cemented this thought in his head. There might be some drawbacks for us though, following the process authentically required the use of both high concentration alcohol as a solvent, and potassium cyanide as a fixer! Rob kindly explained which side of the state line you needed to be on to buy the 95% by volume grain alcohol that he used in the process, and we absolutely did not head straight to a liquor store to buy any, nor did we experiment with using it in cocktails…but that was unlikely to help us back home. The cyanide was a bigger problem.
After our US jaunt, Robert continued to work on his plans for an event and decided straight away to work in calotype rather than the wet plate that Gibson used. This was an earlier type of process introduced in 1841 by William Henry Fox Talbot and much more suitable for use in close proximity to visitors.

As well as the process to use, Robert needed to add more cameras and lenses to his personal collection, make a load more focusing plates and negative carriers for the backs of the cameras, a portable darkroom so that he could process in-situ, tripods, darkroom equipment and work on practising producing the negatives and taking prints from them; all of which took time. Fast forward to summer 2005 when the event was ready to go and for a couple of weeks, each day (light permitting) Robert, ably assisted by Marc, Robin and Barry, would take photographs all around Hampton Court.

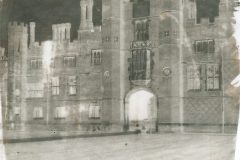
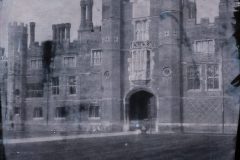
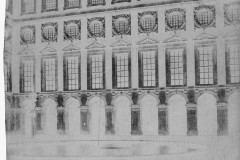
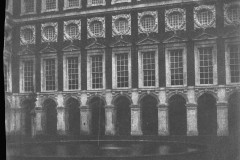
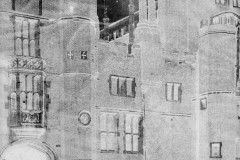
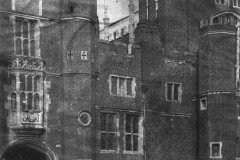
He would photograph the architecture, trying to replicate the earliest images taken of the Palace in 1845, he would take pictures of his assistants and he would photograph visitors to enable them to fully understand the whole process and the history and science behind it.


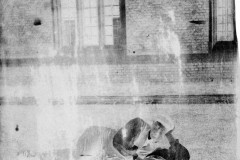
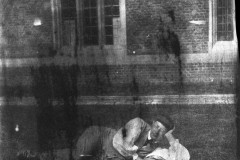
By working in a darkroom in-situ he could process the images “in front” of visitors and even though he would not have time to make prints until much later in the project, the use of digital cameras would allow the negatives to be inverted for visitors to see the final results before they went home. This working in-situ is the principal reason for the brush marks and streaking on the images. Robert never did find a satisfactory brush or sponge for applying the chemical solution to the paper to make the film. He tried a raft of different methods but couldn’t find anything that would allow even application of the solution while working in darkness. I suspect that this is the main thing he’d want to correct if we could run this event again.
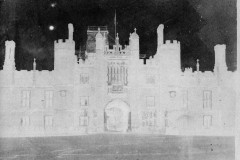
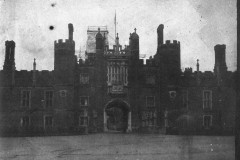
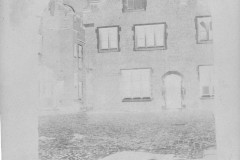
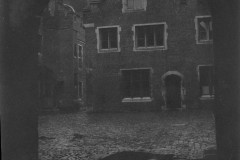
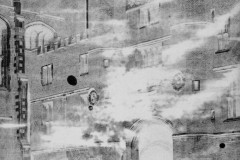
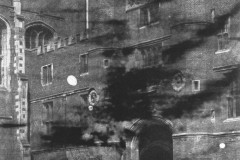
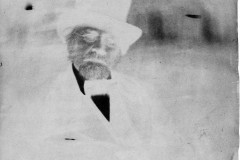
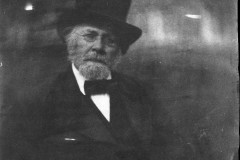
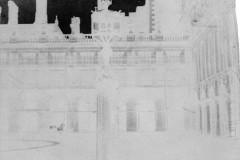
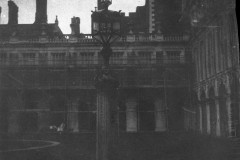
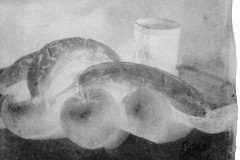
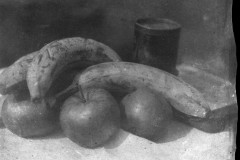
That being said, the results were fantastic! Processed outdoors, feet away from the camera and done so that visitors could watch and experience the process rather than to produce perfect pictures. Move the slider left and right to see the negative and positive versions.


NB all positive images used here are digital inversions of the scanned negatives, not scans of the prints. No post production other than inverting and reducing in size has been done
Fortunately for most of the time the weather was fantastic…brilliant sunshine and clear blue skies, which made for ideal photography weather, mostly because it really shortened the exposure times into the sub one minute bracket.


Some days though, were not so great, but somehow Robert managed to work wonders with ridiculously long exposure times, often measured in minutes, to get some great shots


Visitors chatted for ages about the science and history of photography as well as waiting patiently while the “film” was exposed and a photograph was taken.


As well as visitors and the buildings, Robert tried his hand at a still life


and when visitors weren’t forthcoming, there were always willing subjects waiting to have their portraits taken…any excuse to sit down for a few minutes!


That last one is one of my favourites as it really illustrates that the camera does lie! As you can see from this image of Robin, he’s not that swarthy in complexion and his waistcoat is actually made up of dark colours, not the light ones that the positive image above might imply

It’s all to do with the wavelengths of light that the calotype is sensitive to, picking up a little more UV (I believe) than modern films and digital cameras…hence the darker face on both Robin and Marc who had been working outdoors quite a bit…hard to tell with Barry as he was channelling a more “Victorian side show wolf man” vibe for that week, and Robert was pasty faced from being in a darkroom for weeks!
The other “lie” is the lack of people in many of the images of the Palace, though this is one that most people are familiar with…though it was nice to be able to show it “live” so to speak


The lengthy exposure time means that only Barry, who was stood still, shows up in the image; the rest of the visitors who are walking through the courtyard can only just be seen as a light blur (this is easier to see on the right and left of the positive image)

It wasn’t just the main Base Court that they worked in, Robert took the camera and darkroom all over the place, from out in the East Front Gardens


Fountain Court


Clock Court


As well as looking out onto the Privy Garden from the upper floor of the south side of the Palace


This was a really successful event, that really showed that it’s not just through cookery that people can learn about history at Hampton Court Palace. Watching the actual process of tasks being performed, in this case real photographs being created, and being able to engage in the practical process really adds to the visit, it gives the opportunity to forge lasting memories and to learn new things about something that you thought was quite a simple topic.


I’m certainly keen on trying to repeat this again at sometime in the future (if we ever get out of the current COVID-19 lockdown), and will be sure to record it in more detail if we do.
Below is a gallery of all of the negatives (and their digital positives) that are worth seeing, click on the thumbnails to see the larger images. You’ll note that I didn’t get too creative with image titles, but that should allow you to easily match negative to positive.Enjoy!
A selection of these images was published in Alternative Photography: Art and Artists, Edition I
TTFN!

